(Refer to https://support.tekla.com/doc/tekla-structures/2019i/rel_2019i_mod_visualizer)
Starting from Tekla Structures 2019i, you can now access Trimble Connect Visualizer directly from Tekla Structures. In Trimble Connect Visualizer , you can take snapshots or create animations that demonstrate the design of your models and the build options, and use the snapshots and animations to create more appealing sales and project presentations.
Create 3D renderings and set material type mappings
The Visualize commands are located on the View tab.
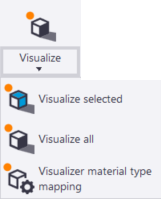
- Click Visualize selected to open a rendering of the selected model objects in Trimble Connect Visualizer.
- Click Visualize all to open a rendering of the entire model in Trimble Connect Visualizer.
- Click Visualizer material type settings to open the Visualizer settings dialog box, where you can adjust how the materials in your model are shown in Trimble Connect Visualizer.The material type mappings can be saved either:
- – to the \attributes folder under the model folder, so that all users of the model can use the material type mappings.
- – to the app data, so that the same material type mappings can be applied to all of your models.
Adjust the model view in Trimble Connect Visualizer
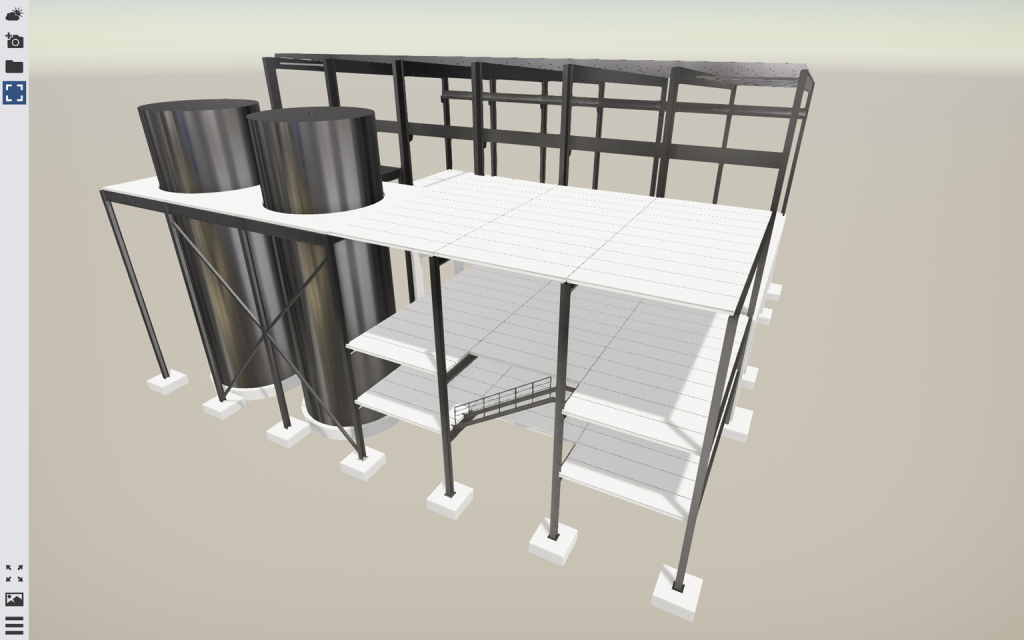
You can zoom, pan, and rotate the model to view different angles of the model.
| To | Do this |
|---|---|
| Zoom in or out | Do either of the following: Scroll forward or backward with the mouse wheel.Press the W and S keys on the keyboard. |
| Pan the model | Do either of the following: Hold down the left mouse button, and drag the model as needed.Press the A and D keys on the keyboard. |
| Rotate the model | Place the mouse pointer over the point around which you want to rotate the model.Hold down the left mouse button.Drag the model as needed. |
Click on the Trimble Connect Visualizer side pane to further adjust the scene. You can change:

- The used skybox, or background, and its rotation
- The position of the sun
- The brightness of the scene
- The visibility and position of the ground plane
Take and view snapshots
All snapshots that you take in Trimble Connect Visualizer are saved in the C:\Users\<username>\Pictures\TrimbleConnectVisualizer folder.
- To take a snapshot of the current view, clickin the Trimble Connect Visualizer side pane.
- To open the C:\Users\<username>\Pictures\TrimbleConnectVisualizer folder and see all snapshots that you have taken, click.
Create animations

You can create animations that show the model from different angles, or views.
To start creating animations, clickon the Trimble Connect Visualizer side pane.
Then, click + to add the views that you want to include in the animation.

You can also adjust the speed of the animation and the sun position, and preview the animation.
